


Kayaking might not be the first thing that comes to mind when someone suggests that you should try some outdoor fun activities. It is, however, a sport that can be both relaxing and challenging. It can offer a restful time floating on the sway of the water or a workout as you paddle upstream or over rapids. You can fish or hunt or simply take in the scenery from the comfort of your craft.
Getting the hang of kayaking is not as easy as it seems. While it may appear as simple as paddling on top of the water, you need to know some basic concepts of the whole activity. Kayaking requires some knowledge and practice to become good at it and enjoy it.
Learning about the sport also aids greatly in determining the best kayaks and accessories to buy. For you to completely understand kayaking and begin an aquatic exploration journey, the first lesson is getting to learn the anatomy and features of a kayak. You’ll also learn how to adjust the kayak for a perfect fit to prevent swaying and wobbling. Additionally, you’ll learn how to hold the kayak paddle after you get into the craft. With this knowledge and with some tips on the best kayaking gear, you’ll be ready to enjoy this amazing outdoor activity right from heave-ho.
Do not go kayaking solo if it is your first time in a kayak. It’s best if you go with a group of people who have kayaked before or under the guidance of a kayaking professional. Most people find going solo adventurous, but the fun would be short-lived if you end up facing some challenges that you’re not ready for while out on the water. When you go with a group, be careful not to stray too far on your own. Ensure that you are within earshot so that they can constantly check up on you. The distance from the shore should also be short, so that in the event that the activity does prove too hard for you, you will be able to swim back to dry land. Additionally, it will be an advantage to you if you first check the water temperature and the weather in your area so that you will know what to wear. If the water temperature is at 60 degrees Fahrenheit or lower, you’ll want to wear a wetsuit. To be on the safe side, carry a whistle with you while you go kayaking in case you do lose sight of your group. Most importantly, do not forget to always wear a personal floatation device (PFD), which should always be on whenever you are on the water.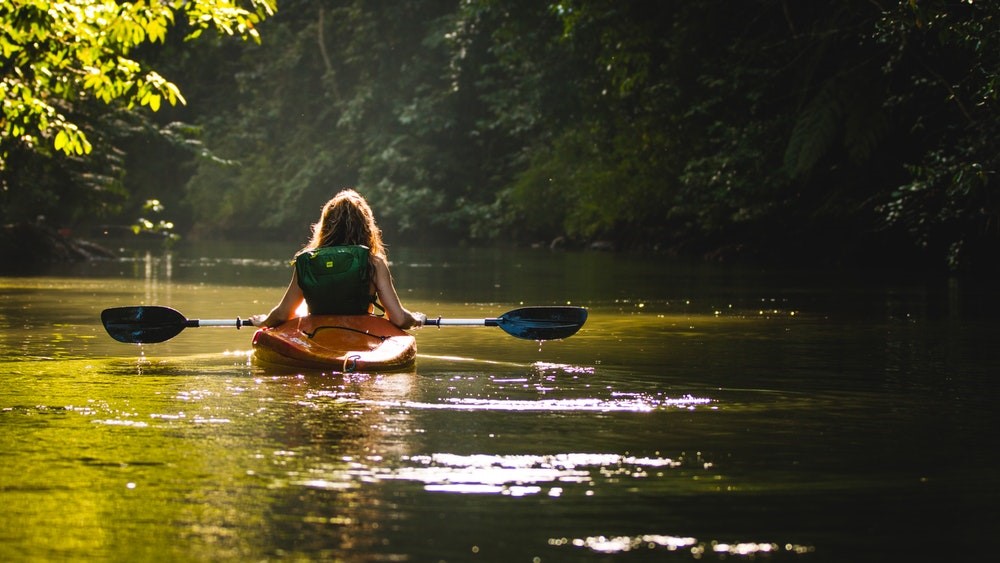
Be Safe! Tried and True Precautions from Veteran Sailors
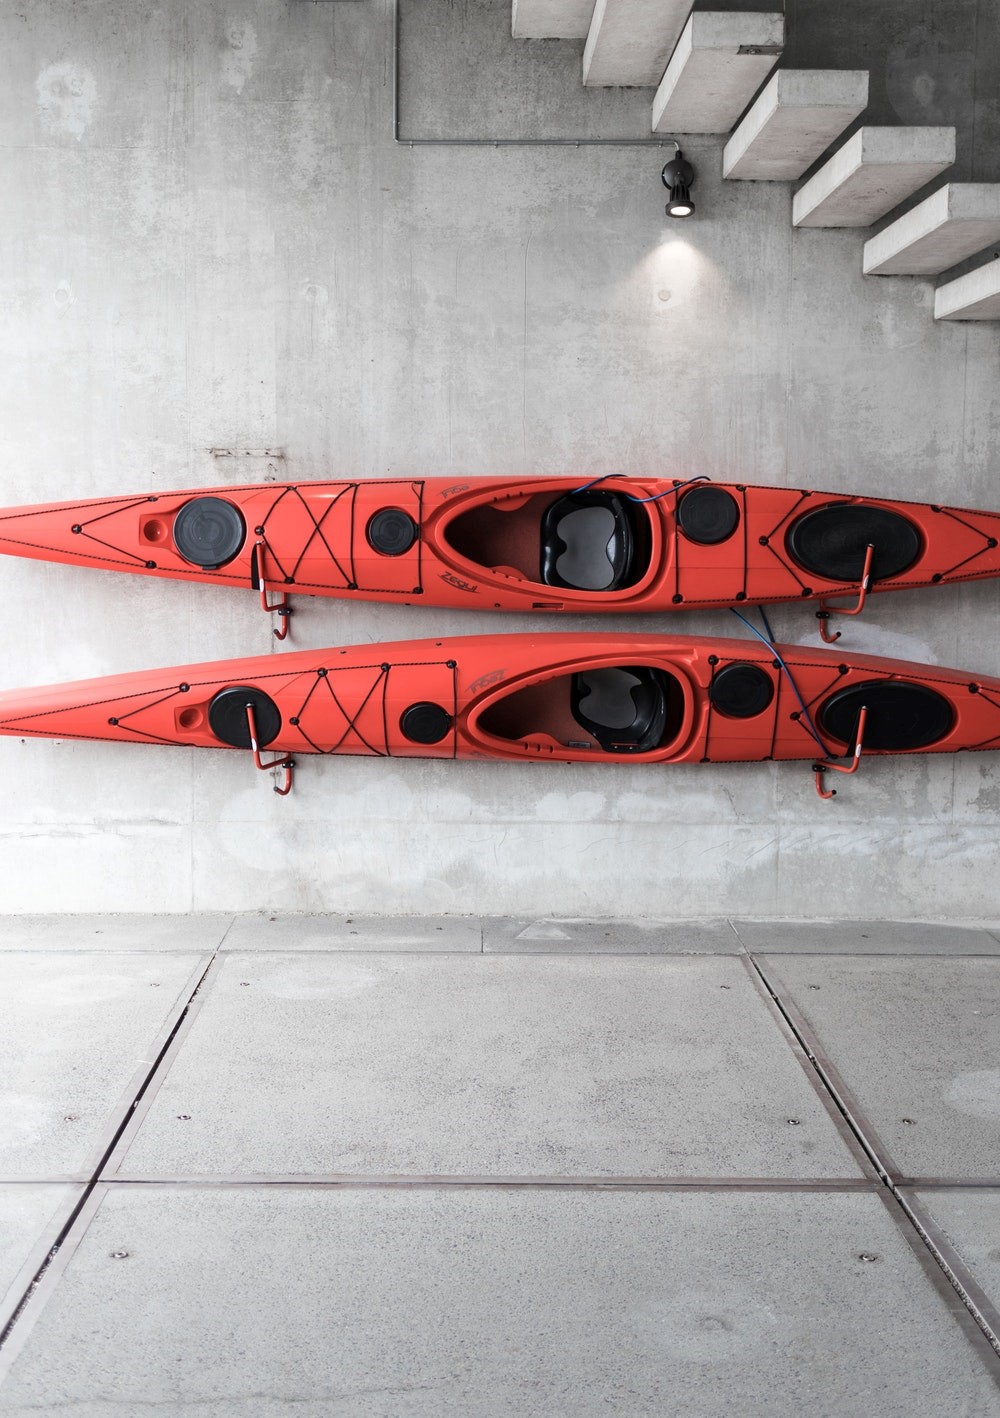
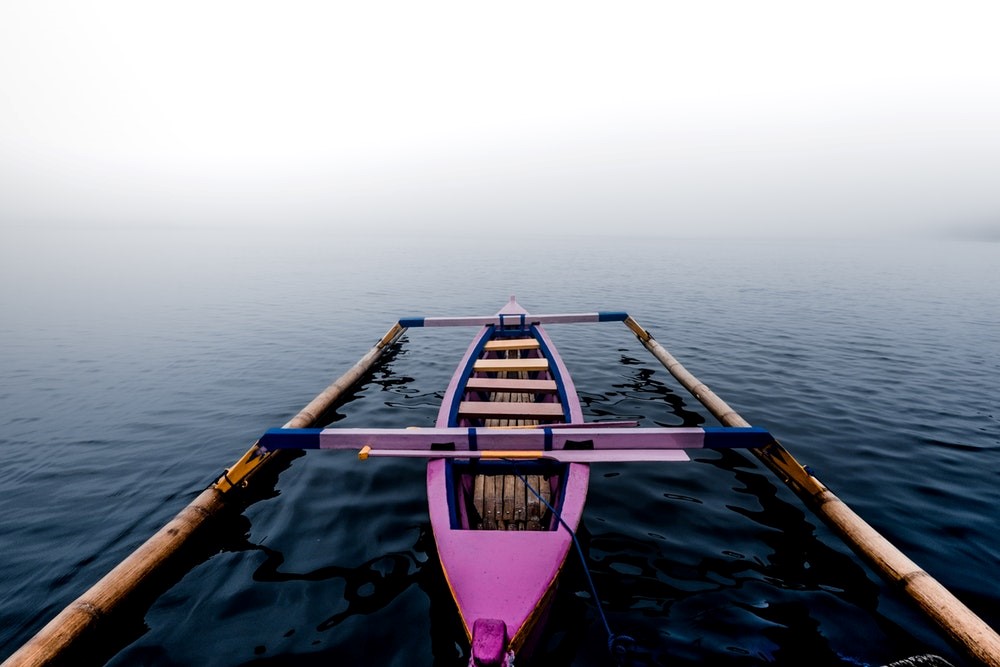
The Basic Parts of a Kayak: Get to Know Your Vessel, Captain
Here are the basic parts of a kayak that you’ll want to be familiar with.
Bow: The front part of the vessel that faces forward
Stern: The back of the vessel that faces the rear end
Spray Skirt: This is a waterproof cover that ensures that water does not enter the cockpit. It is flexible and contains a hole for your waist when you are the passenger. Touring and whitewater boats most commonly contain a spray skirt.
Rocker: This is the curvature of a kayak from the bow to the stern. The bow and stern face less resistance, and, therefore, having more rocker allows for better movement of the kayak.
Skeg: This refers to a fin that streamlines the kayak, meaning that it provides stability for the kayak and helps it maintain a straight line. It is detachable and can also be retractable sometimes.
Rudder: This is a blade that maintains the straight movement of the kayak. It is located at the back of the boat and, using foot pedals located in the cockpit, the rudder maintains balance by moving side to side.
Adjusting the Fit of the Kayak: Get Comfy for the Voyage!
Before you get into the water to begin your adventurous journey of exploring the waterways, ensure that your kayak is properly adjusted to fit your height. It would be a pity to ruin the adventure by uncomfortably wobbling all over the water.
1.The first step is to sit in the kayak to determine how the seat is positioned and whether it is supportive. Check the setback or the seat of the boat and, if it is adjustable, fine-tune it to suit your desired position. Double check to ensure that the adjustment is right since it will be a challenge to change the adjustment when you get out onto the water. While you adjust, remember to sit in an upright position for the most power and balance.
2.Secondly, check the foot pegs. This should be done when you are off the kayak as it is much easier to do so than when sitting in or on it. The balls of your feet should be placed on the foot pegs, with the knees slightly bent at an angle. Tilt and slide the foot pegs along a rail, which contains preset stopping points. Most kayaks have this method of adjusting foot pegs.
3.After you adjust the foot pegs to your liking, the next step is to adjust the captain’s chair. The chair is adjusted to give your bended knees optimum space and to ensure that they are in contact with the cockpit’s sides. This position comes in handy in maintaining balance and controlling the kayak when it sways on the current. Note that even if the fit in the kayak appears snug, you will still be able to make it out in the event that you capsize.
Boarding the Kayak: Getting in the Cockpit like A Pro Pilot
You are quite mistaken if you think that getting into or onto a kayak is as simple as boarding a bus. On the contrary, it is a bit challenging, and even embarrassing at times. To save you the wobbling and embarrassment, we are going to teach you about slipping into a kayak’s seat smoothly and in the right way every time.
For a beginner, this lesson should be conducted in an area where the water is calm, relatively shallow, and free from rocks. While sliding the kayak into the water, the bow should go first. You should hold on to the kayak’s stern by its grab loop so that it does not float off without you. When in the water, the cockpit should be in a shallow area, so shallow that you can comfortably stand in the water without having to resist the current. To make sure that you have the most control, the kayak should be positioned alongside the shore.
The paddle will be your support while getting into the kayak. Brace it by placing it at the center behind the cockpit. Let the kayak be between your legs by stepping over the cockpit. While holding on to the paddle shaft for stability, sit directly on the kayak, then carefully move your legs into the cockpit, starting with the leg that is on the shore’s side. Once you have succeeded in getting both legs into the cockpit, slide your rear end into the seat, and you will be good to go.
As you are now comfortably seated in the kayak, it is time to utilize the spray skirt if you have one. Ensure that the spray skirt covers the cockpit completely. To get your kayak moving, place the paddle in front of you and, using your arms, push off from the shore. When you are ready, start using the paddle and let yourself float away into the open water.
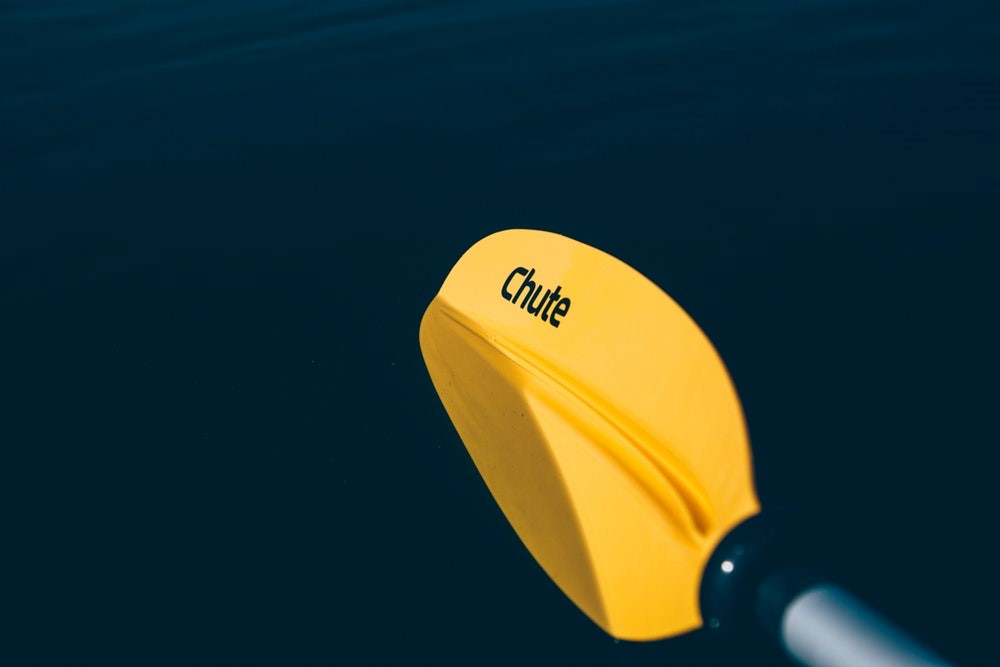
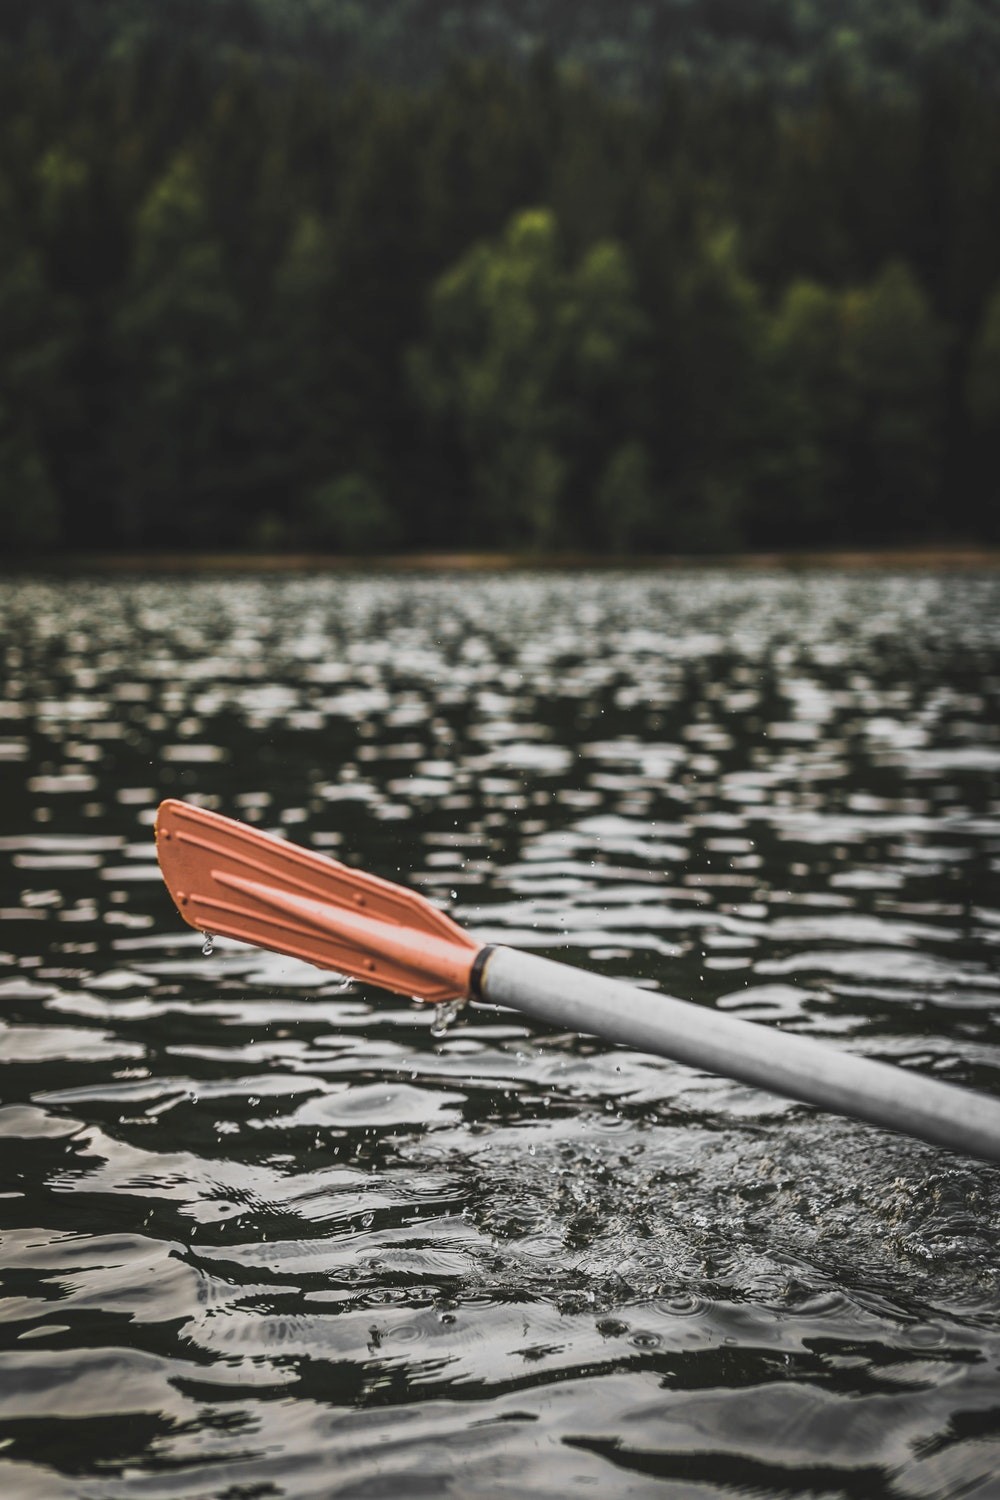
Get a Grip: Holding the Kayak Paddle Like a Familiar Tool
Your paddle should be your closest ally during the kayaking adventure. This is because your safety depends on how you handle it. It is capable of saving you from all the potential dangers that could come your way. Therefore, before you get out onto the water, check to ensure that the blades are perfectly parallel.
Worry not if you find that they aren’t parallel. You can get them in line by simply twisting at the shaft’s center, or you can use the push button to align them. Each of the blades has a longer edge. Check to ensure that this longer edge is on top. This allows the blades to be more efficient with each stroke as they smoothly cut through the water.
To determine the paddle’s center, hold the paddle with both hands and position it on your head. With your elbows bent at an angle of 90 degrees, lower your paddle. You will find that this position gives you a grip that is optimal.
Carefully examine the curvature of your blade, and let the scooped sides of the blade face towards you. For the most effective stroke, ensure that your knuckles, specifically the first two, are lined up with the paddle blade top. To prevent your hands from tiring out too quickly, your thumb and index finger should grip the paddle with in an O grip shape, and not a death grip.
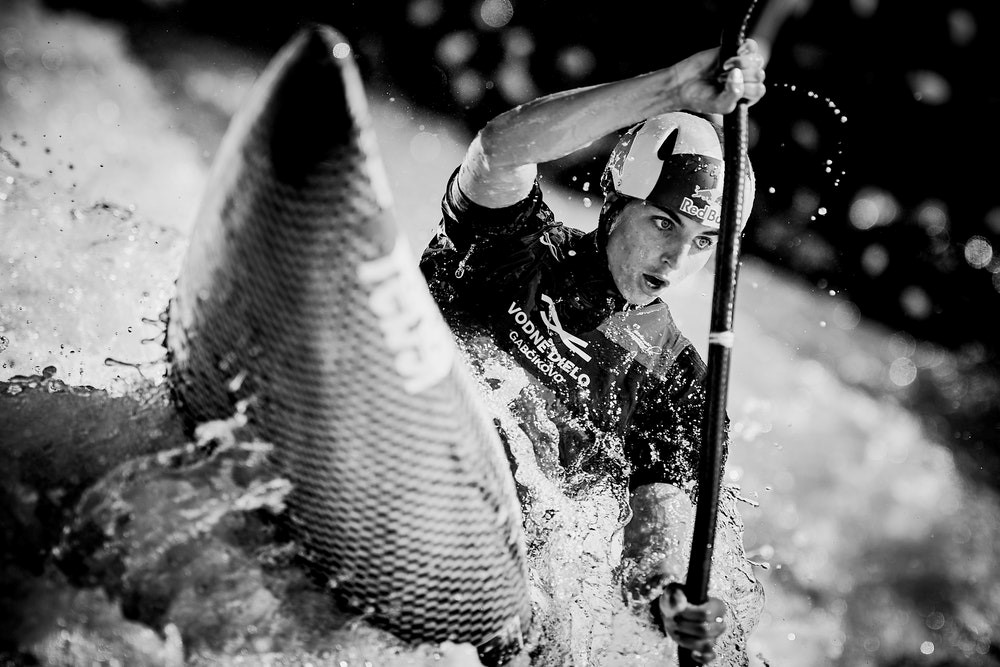
Paddling Technique: You are the Master of Your Craft
Learning the basic paddling techniques will offer you full control for your kayaking journey. There are three basic stroke types and they are the core of understanding kayaking. These three strokes are the sweep, forward and reverse strokes, and they allow you to float over the water very easily.
Forward Stroke
The forward stroke is the most well-known and highly used move in kayaking. In order to learn the front stroke, move your torso to one side, and just next to your feet on the same side, pierce the water with your blade and ensure that it is submerged. To propel the boat forward, rotate your torso and get the blade behind you.
For more power, we recommend using your arms and your entire upper body in the movement. When the hand with the blade goes past your hip, slice the blade out of the water and repeat the same procedure, this time on the other side. With every stroke, ensure that you maintain a comfortable angle to avoid getting tired too quickly. If you are having difficulty finding a comfortable angle, simply imagine that you are checking the time on your wrist watch.
Reverse Stroke
The reverse stroke serves two purposes: moving you backward, and at the same time, stopping the kayak from moving forward.
While paddling, you will notice that this stroke is the exact opposite of the forward stroke. With the paddle’s blade close to your hip, slice into the water. Use your torso and arms to push the water forward and, when the blade reaches your feet, slice it out of the water. Alternate sides while repeating the same procedure and watch your kayak float very easily on the water.
The slices into the water have to be clean in order to maintain a smooth stroke. The reverse stroke is much smoother than the forward stroke, making it faster.
Sweep Stroke
Continuous forward strokes on one side turn the kayak very slowly. So, if you don’t intend to cover much area or you want to pass time, you can exercise this stroke, which is known as the sweep stroke.
According to the description, the sweep stroke is simply an improvised forward stroke that is exercised when you want to effectively propel the kayak right or left. The improvising part of the sweep stroke is that while utilizing the forward stroke, you let the blade carve a wider arc, more like a semicircle. When you want to turn the kayak left, a sweep stroke on the kayak’s right side will help, and vice versa.
Kayaking Gear: What You Need to Start Kayaking
Kayaking is addictive and therapeutic, which is the reason why most people enjoy unwinding through this activity. Since it is an adventurous and alluring workout, it can become a favorite hobby quite easily. After renting a kayak for a few of those great kayaking sessions, you will most likely want to get your own. Below is a list of the best and most efficient kayak essentials that will guarantee you the best kayaking experience.
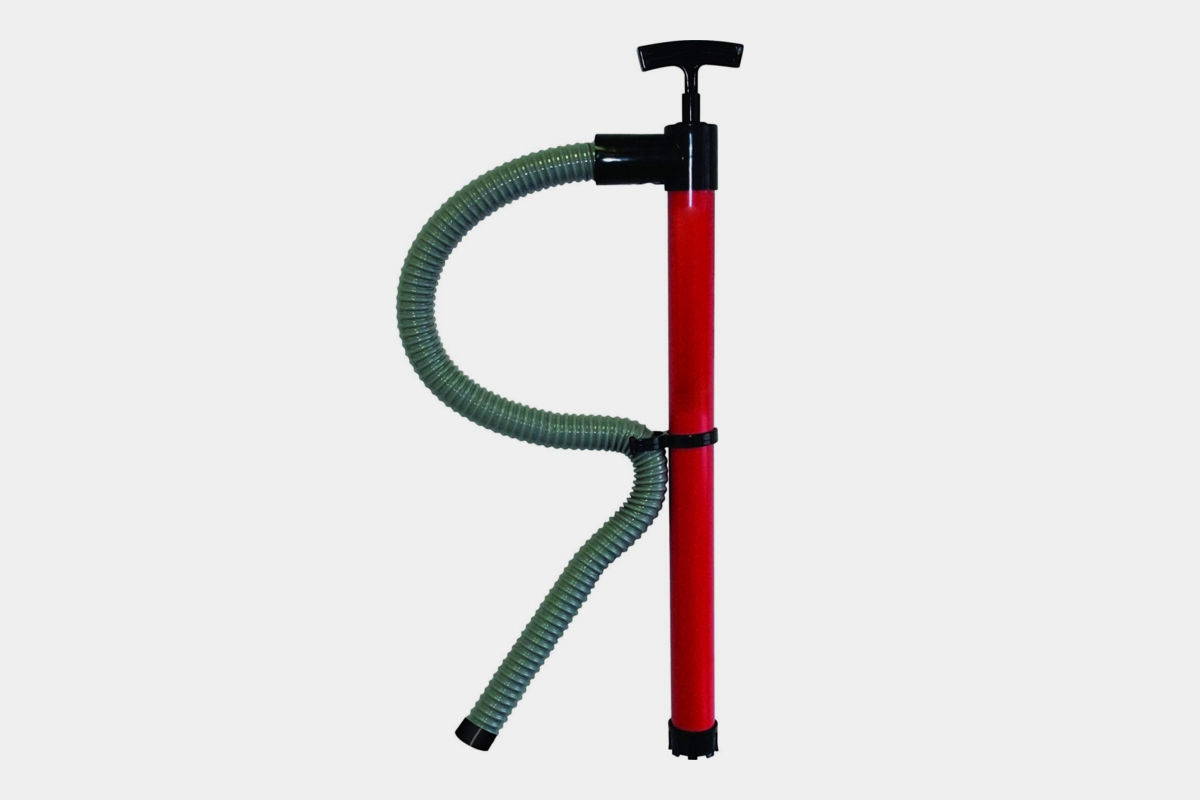 SeaSense Hand Bilge Pump Hose
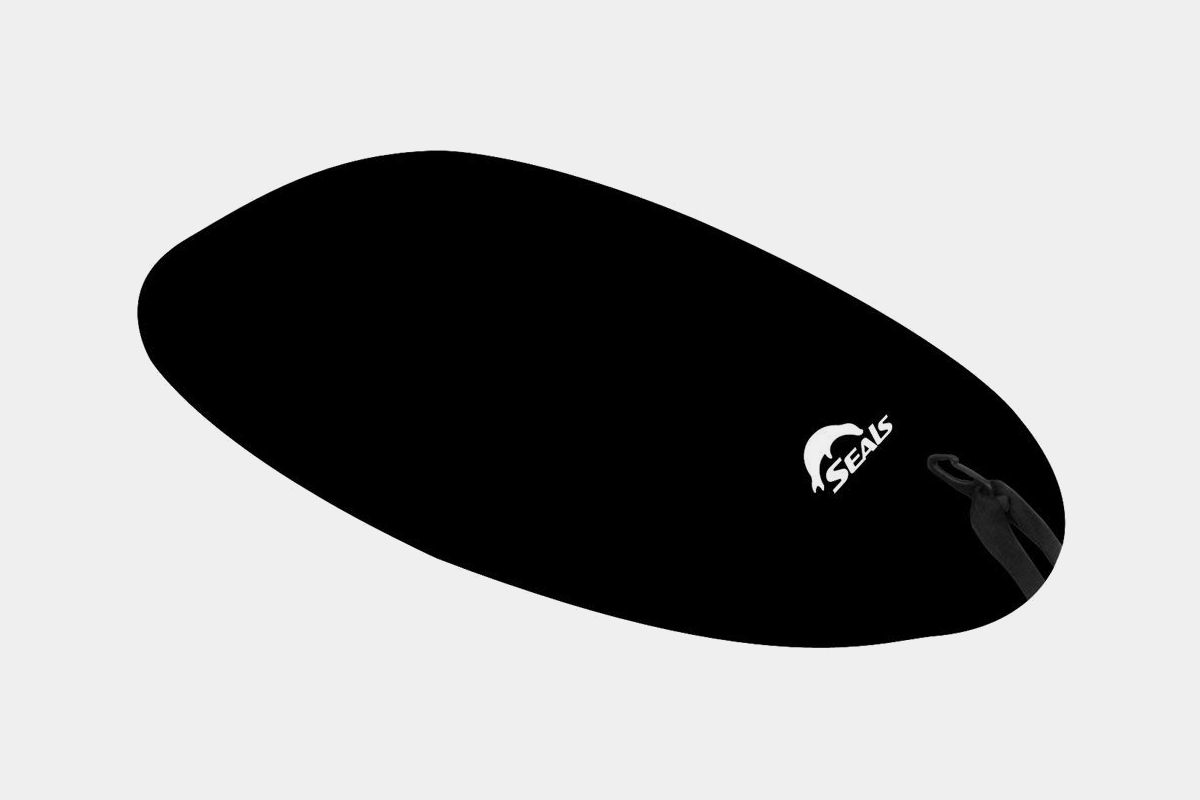 Seals Neoprene Kayak Cockpit Cover
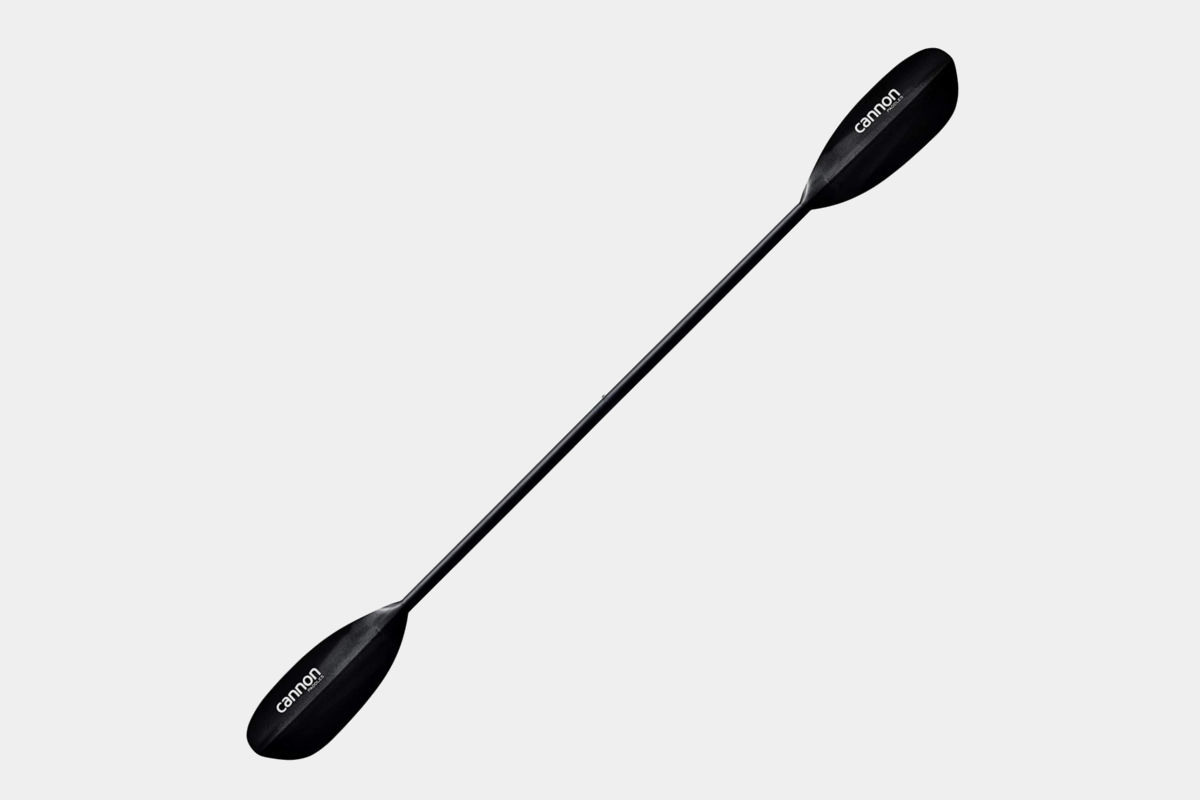 Cannon Paddles Escape E Kayak Paddle
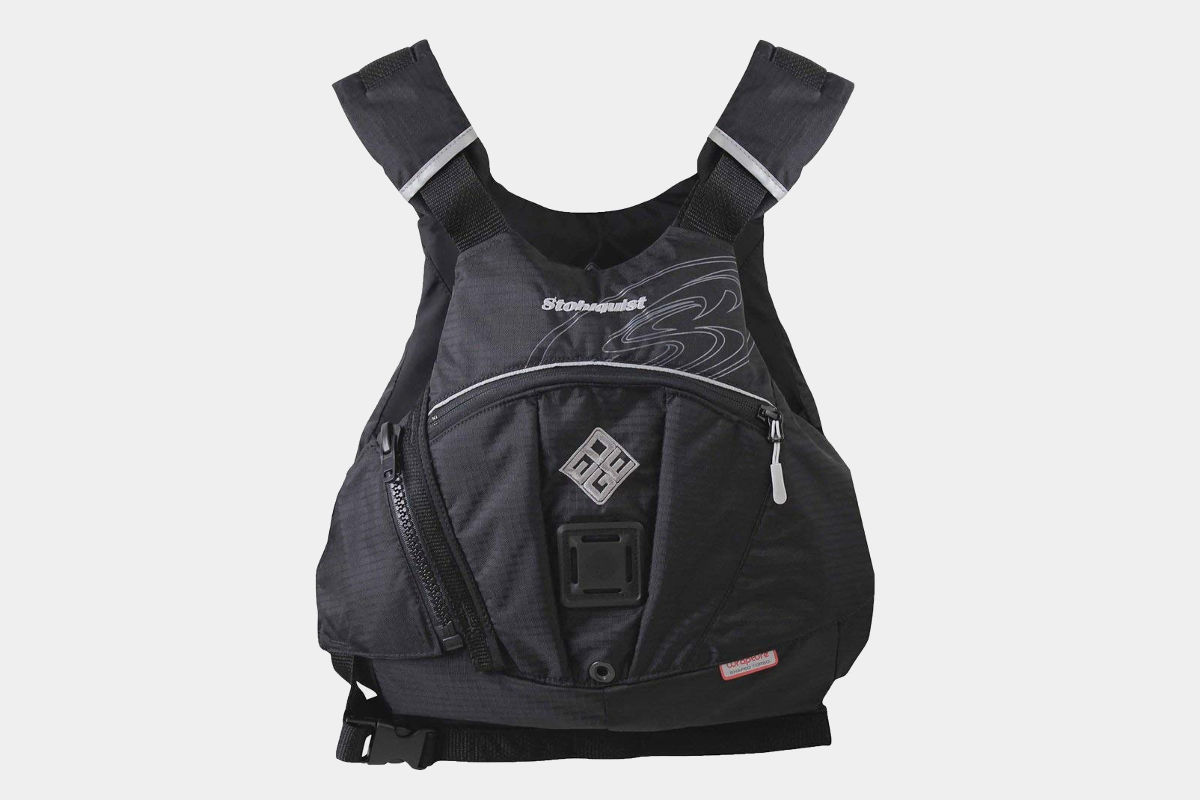 Stohlquist Edge Life Jacket
The life jacket has mesh sides for extra storage and reflective markings to improve your safety and visibility to others. This life jacket is comfortable and, because it does not limit mobility, it is a good choice for even the most active kayakers.
For a gentle and perfect fit, the jacket has contoured shoulders and side pull adjustments. An ultra-soft buoyancy foam keeps you safe and improves the jacket’s fit.
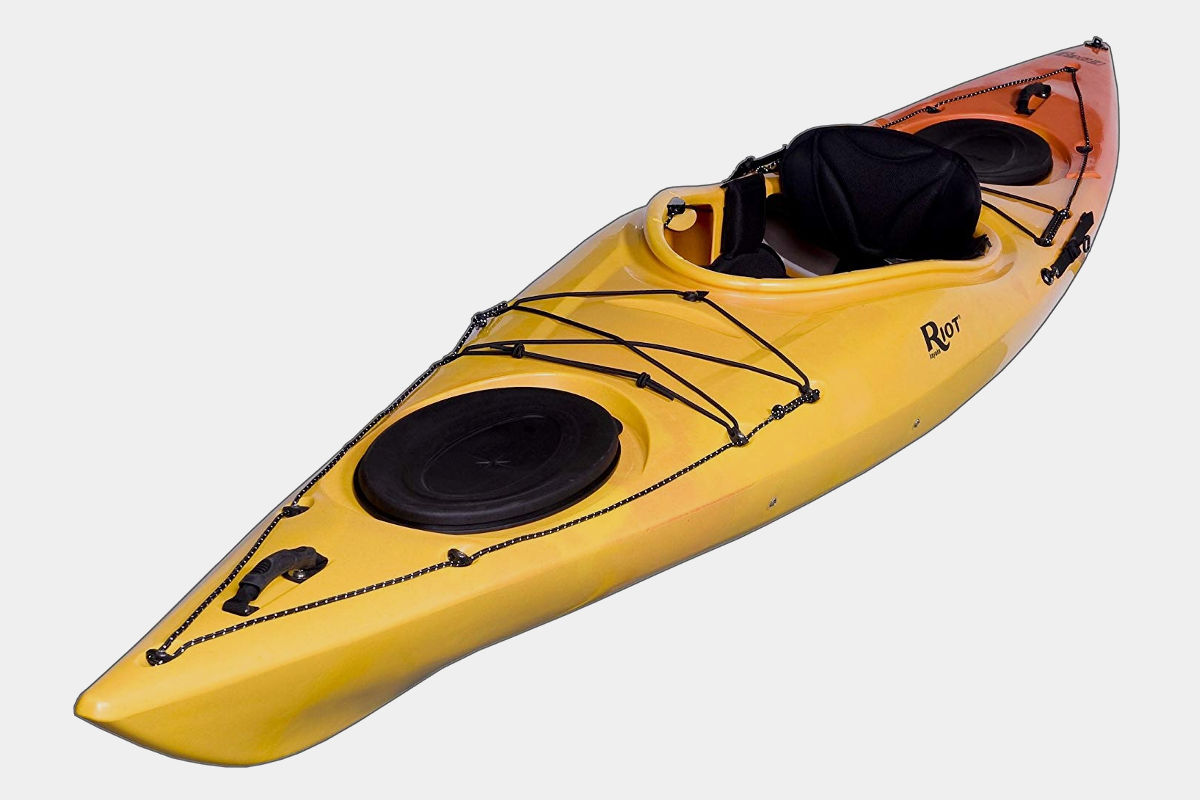 Riot Kayaks Edge 13
Above all, this kayak has reflective lifelines that ensure that your kayak is always visible. Additionally, if you want to rest during your kayaking journey, the kayak has a flush mount rod holder. Its weight is 58 pounds and it measures 13 feet long, so you can easily carry it to the water’s edge and drag it out when you’re finished.